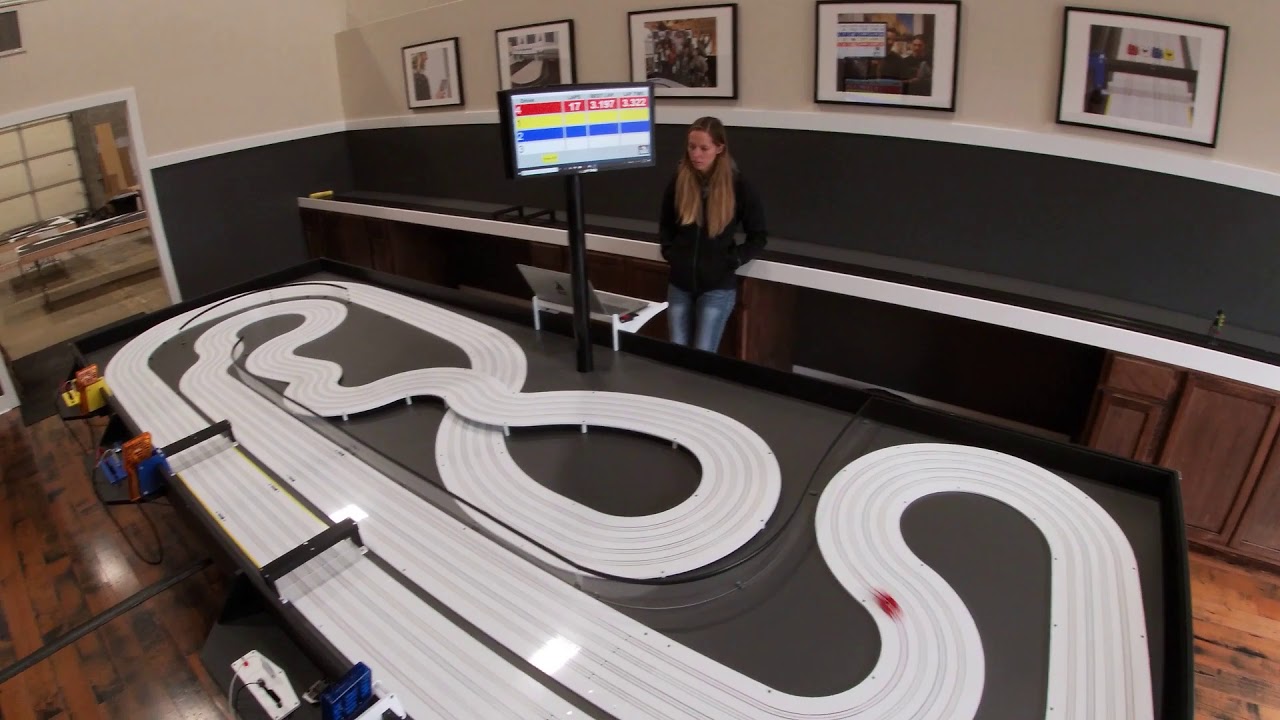
Yes, SR2 has a clone. After Dan Cronin of Viper Scale Racing finished building SR2, he quickly made another version. The only difference I can see is that he spaced out the pit and start/finish gantries to make fuel races a bit easier than the original version of SR2.
The original SR2 was designed by me but with a whole lot of input from local racers who own routed tracks and have raced on some of the most magnificent racing tracks ever built.
SR2-2 is no longer in Utah at Viper’s facility but it is still in use. In fact, the last time I saw it was at Musgrave Racing’s shop in Riverside, CA.
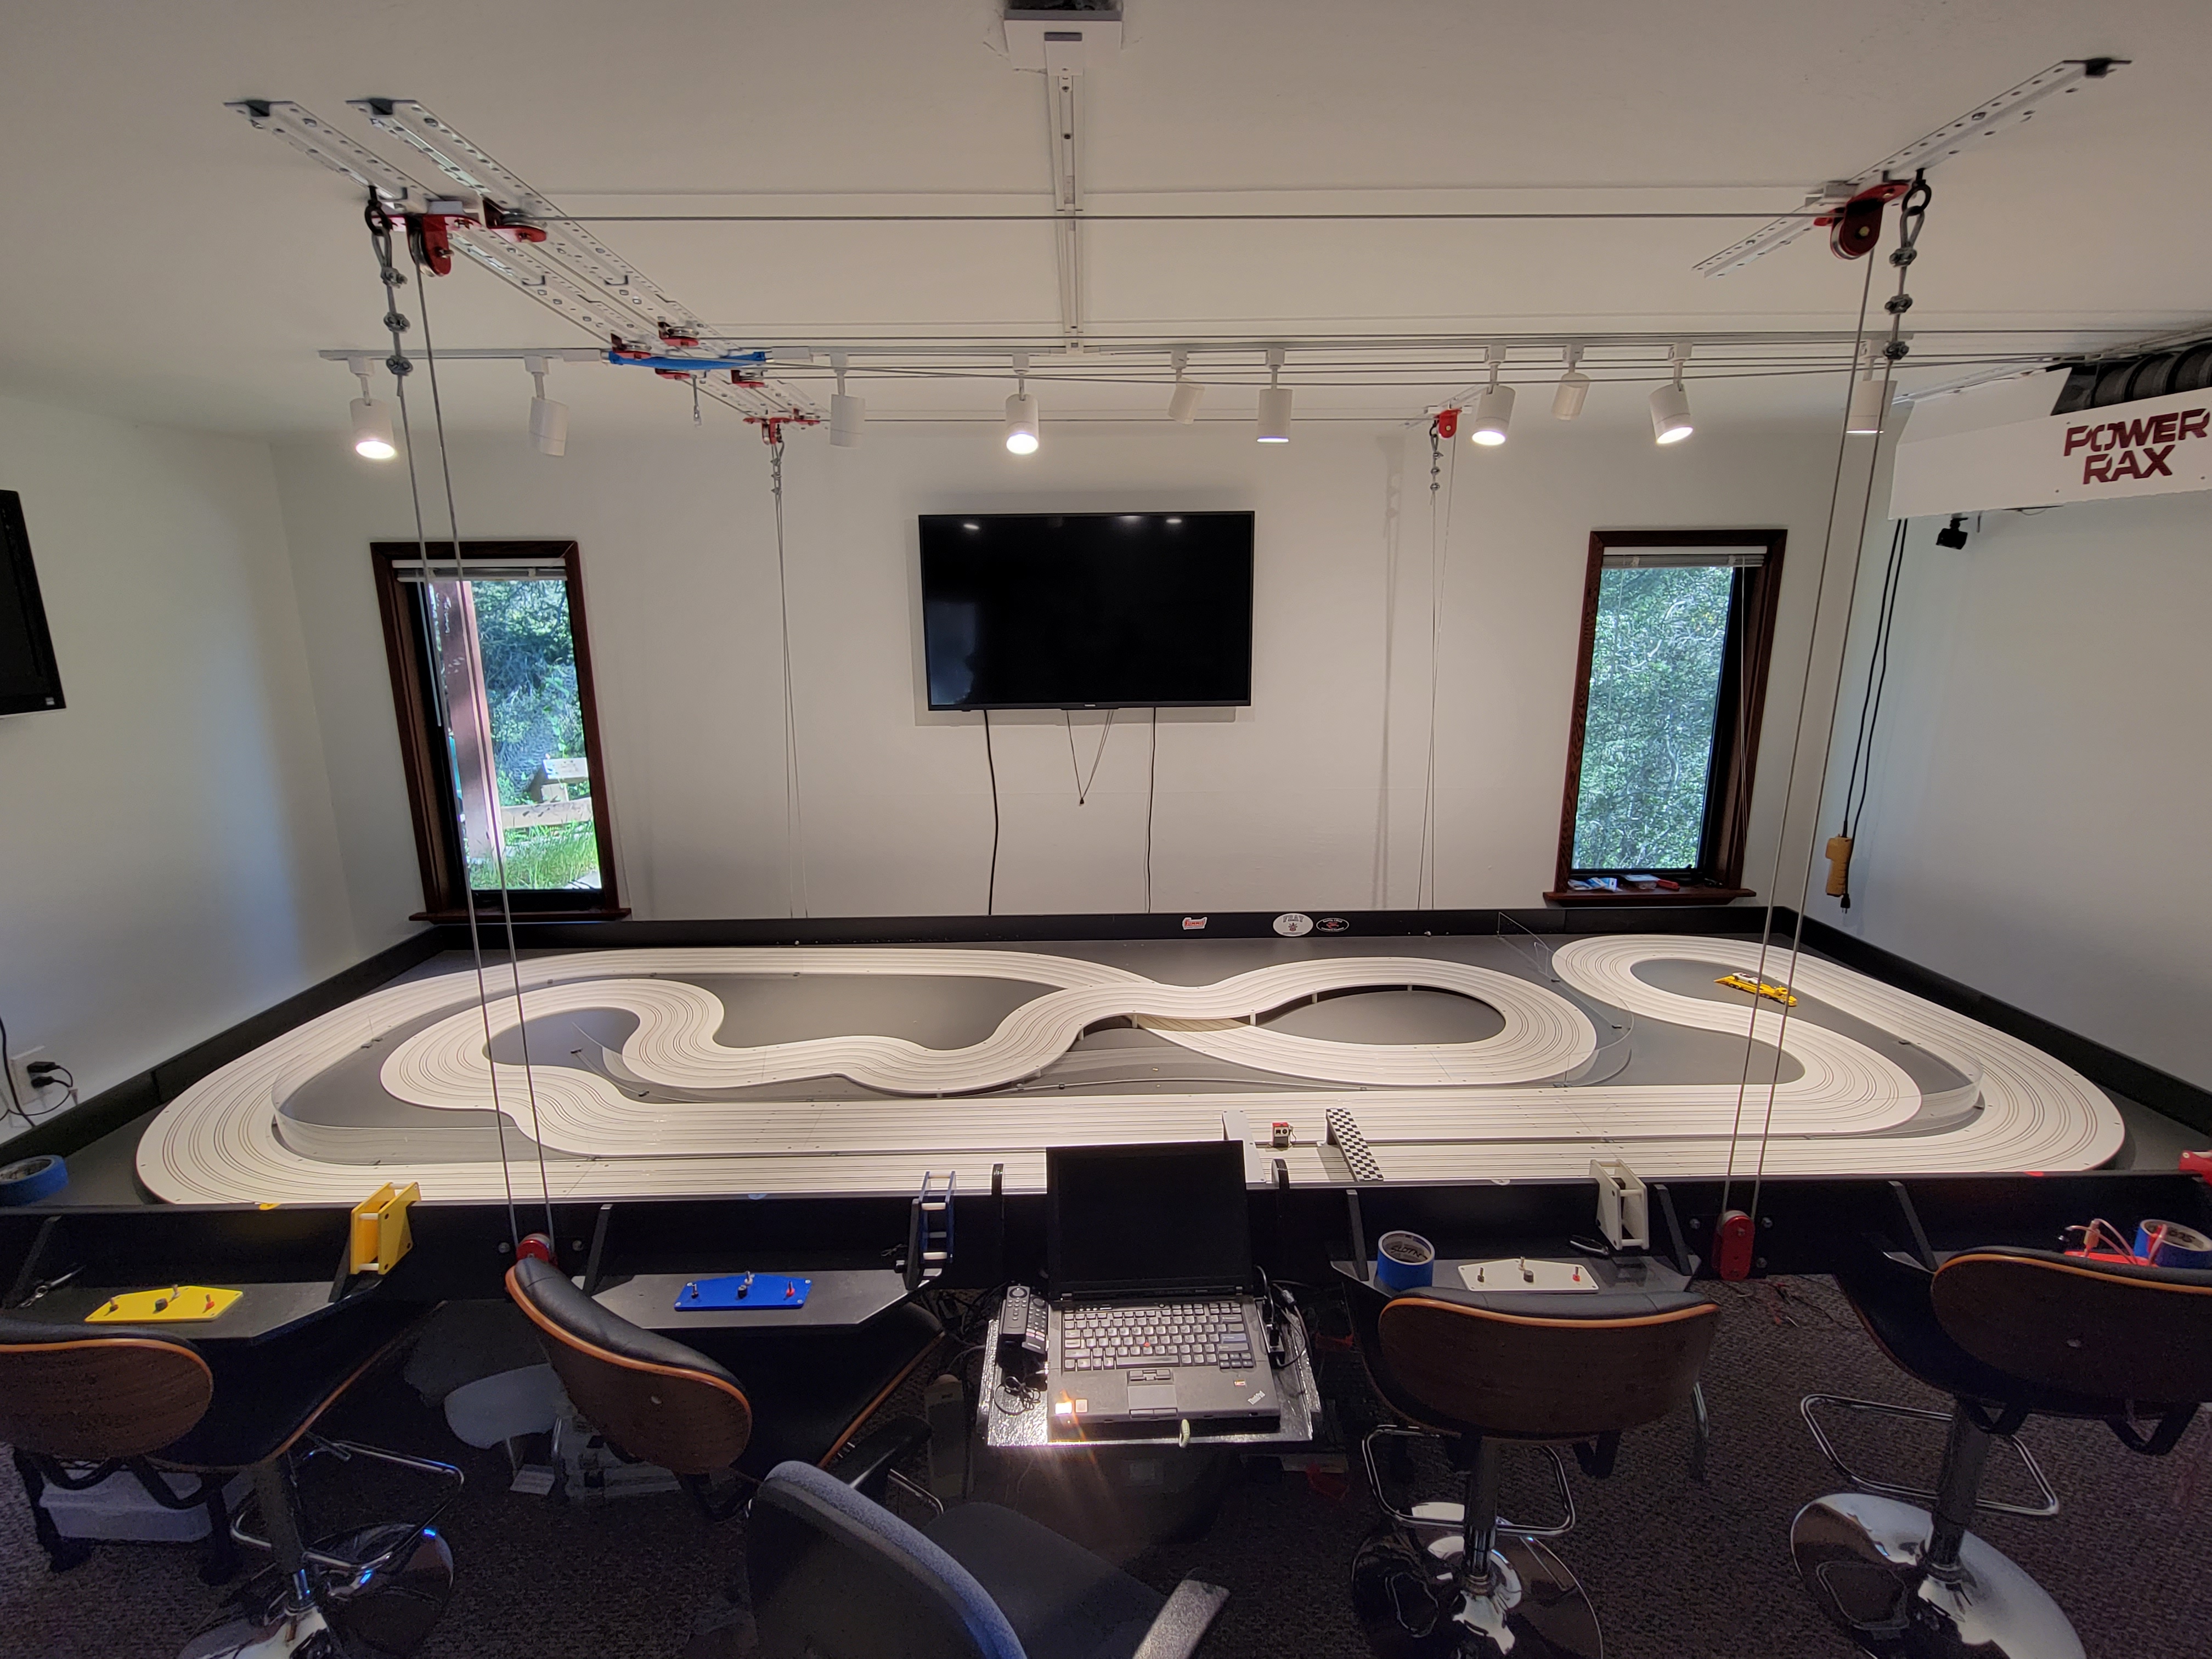
SR2-1 is still alive and well in the Santa Cruz Mountains. We haven’t raced on it in a while but I recently did a whole bunch of laps on it building two new Tyco-Jets for my IROC fleet. It is a very cool layout and the fact that it has multiple layouts, as well as converts to an oval, is very special.
 With plenty of other tasks to do the rains have been keeping me indoors. When that happens, I usually play with slot car stuff or hack on computer stuff. This week has been all SR3 construction.
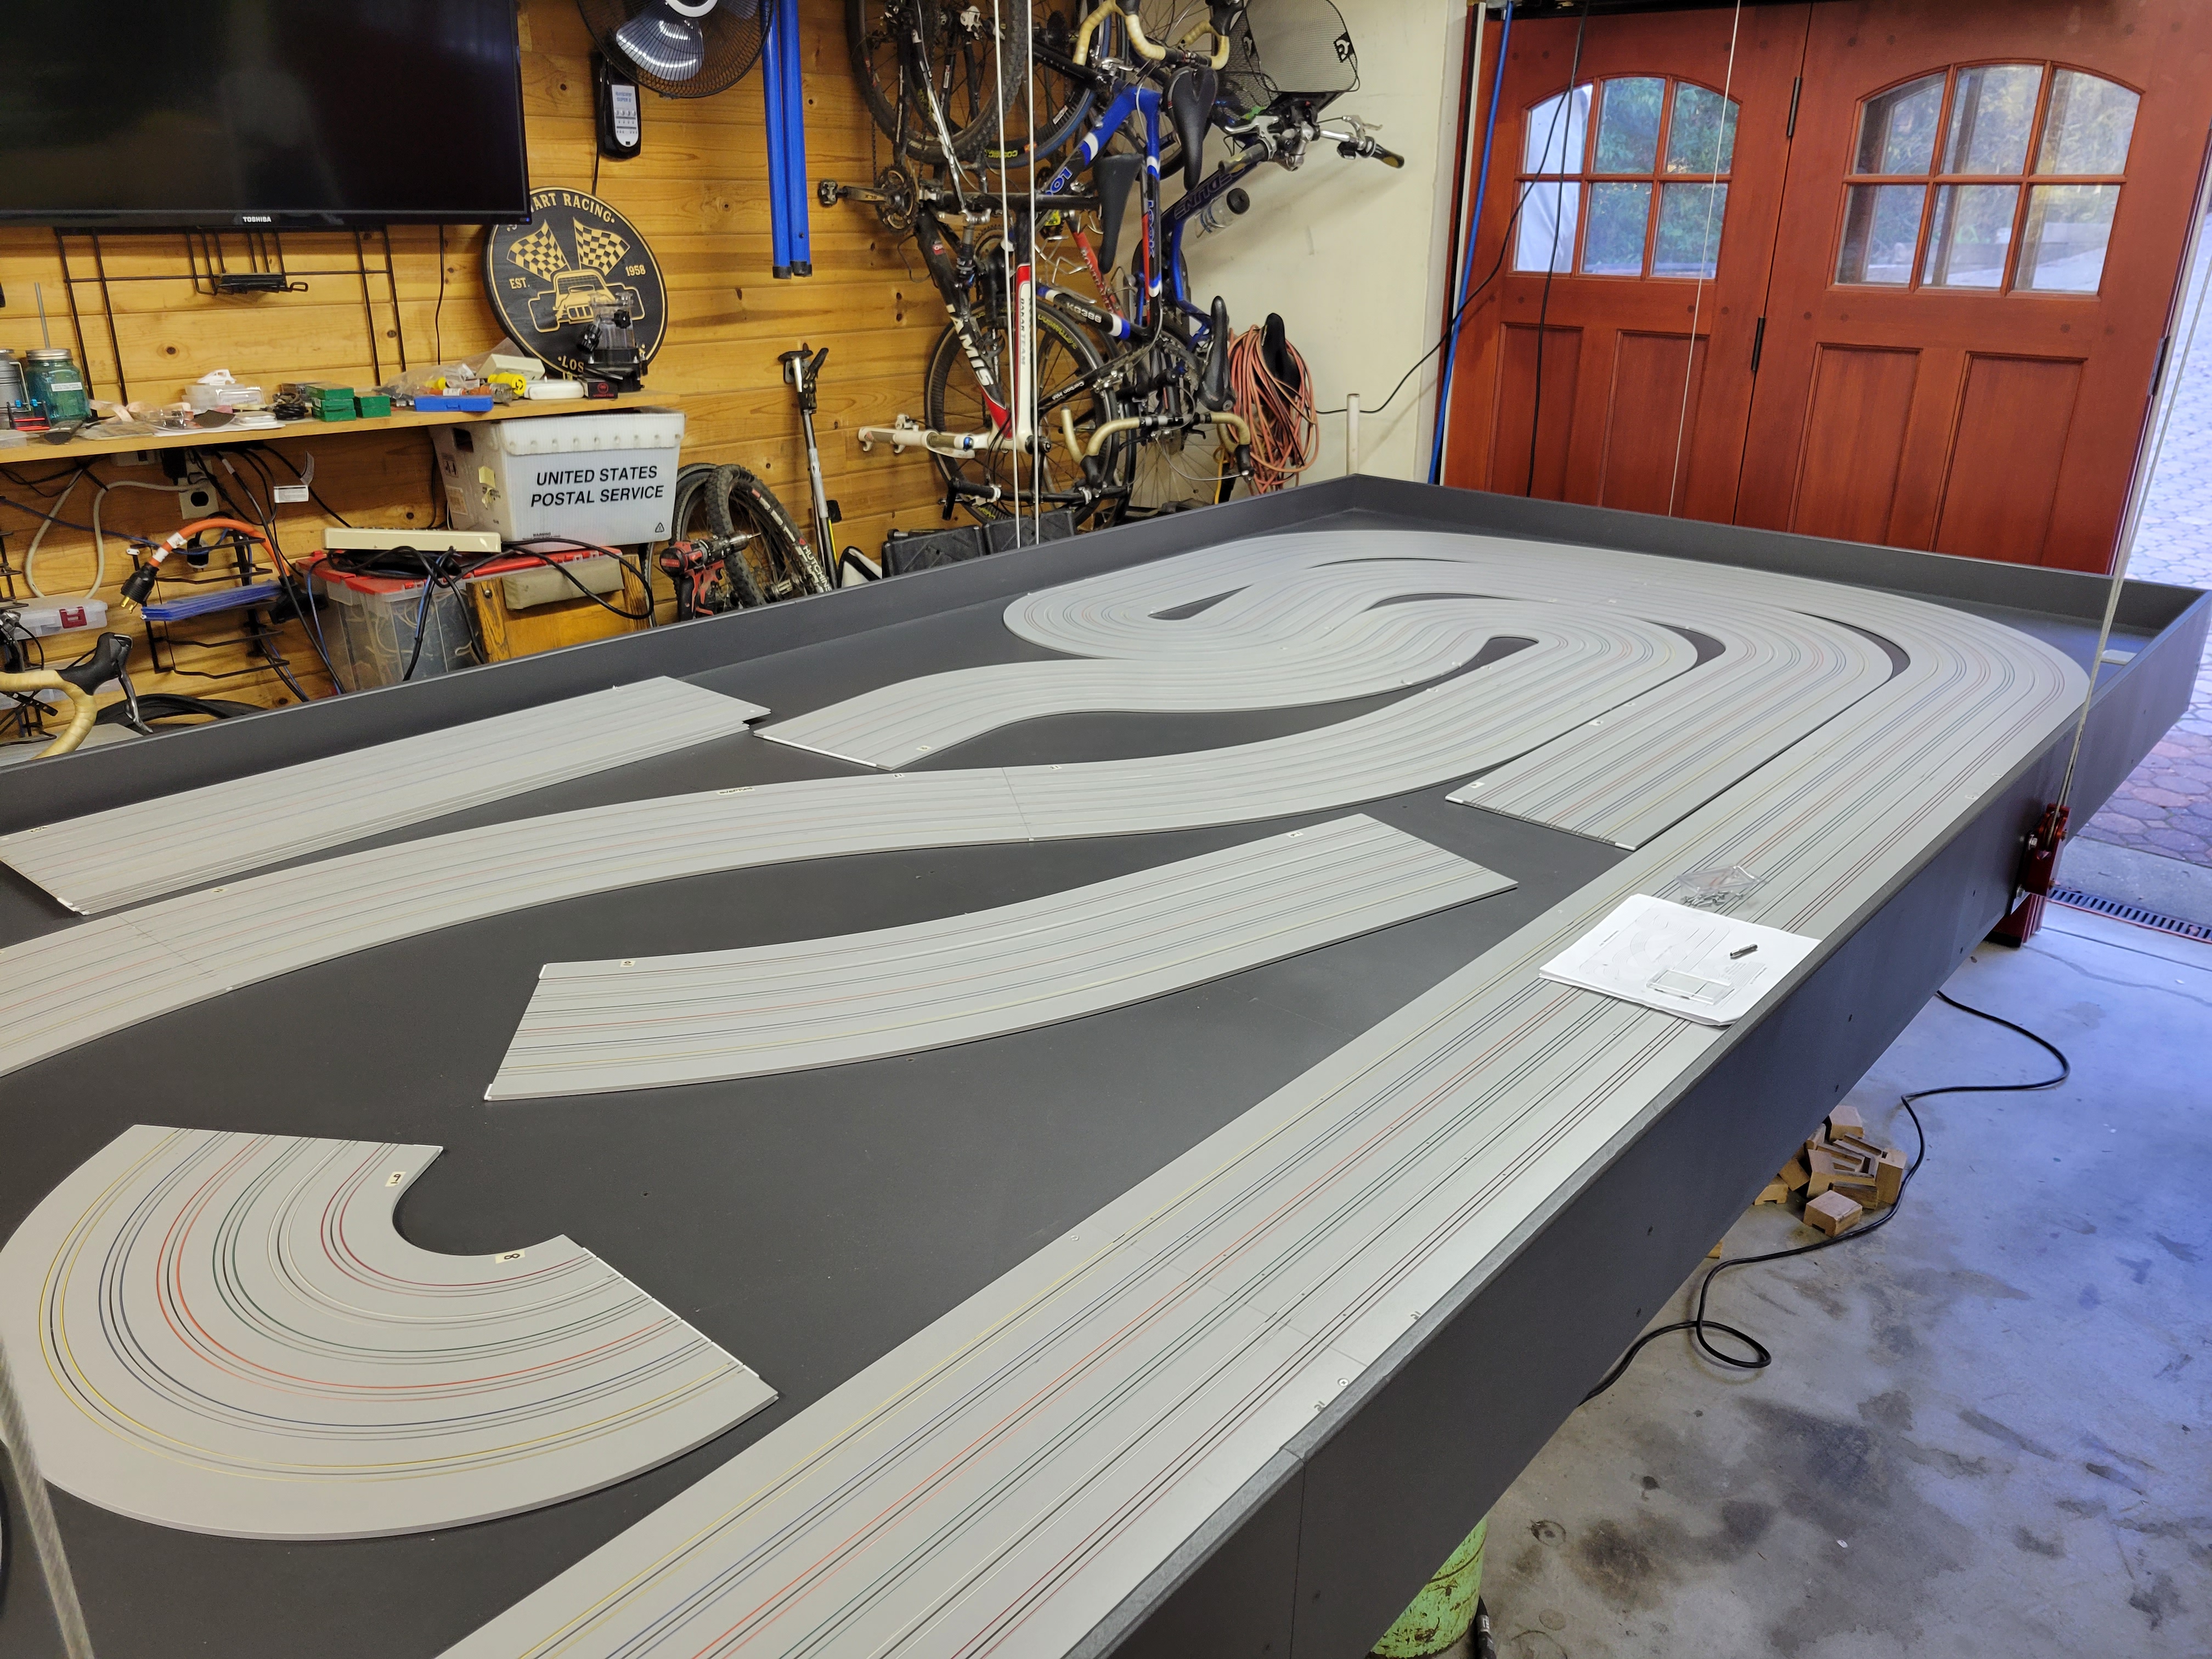
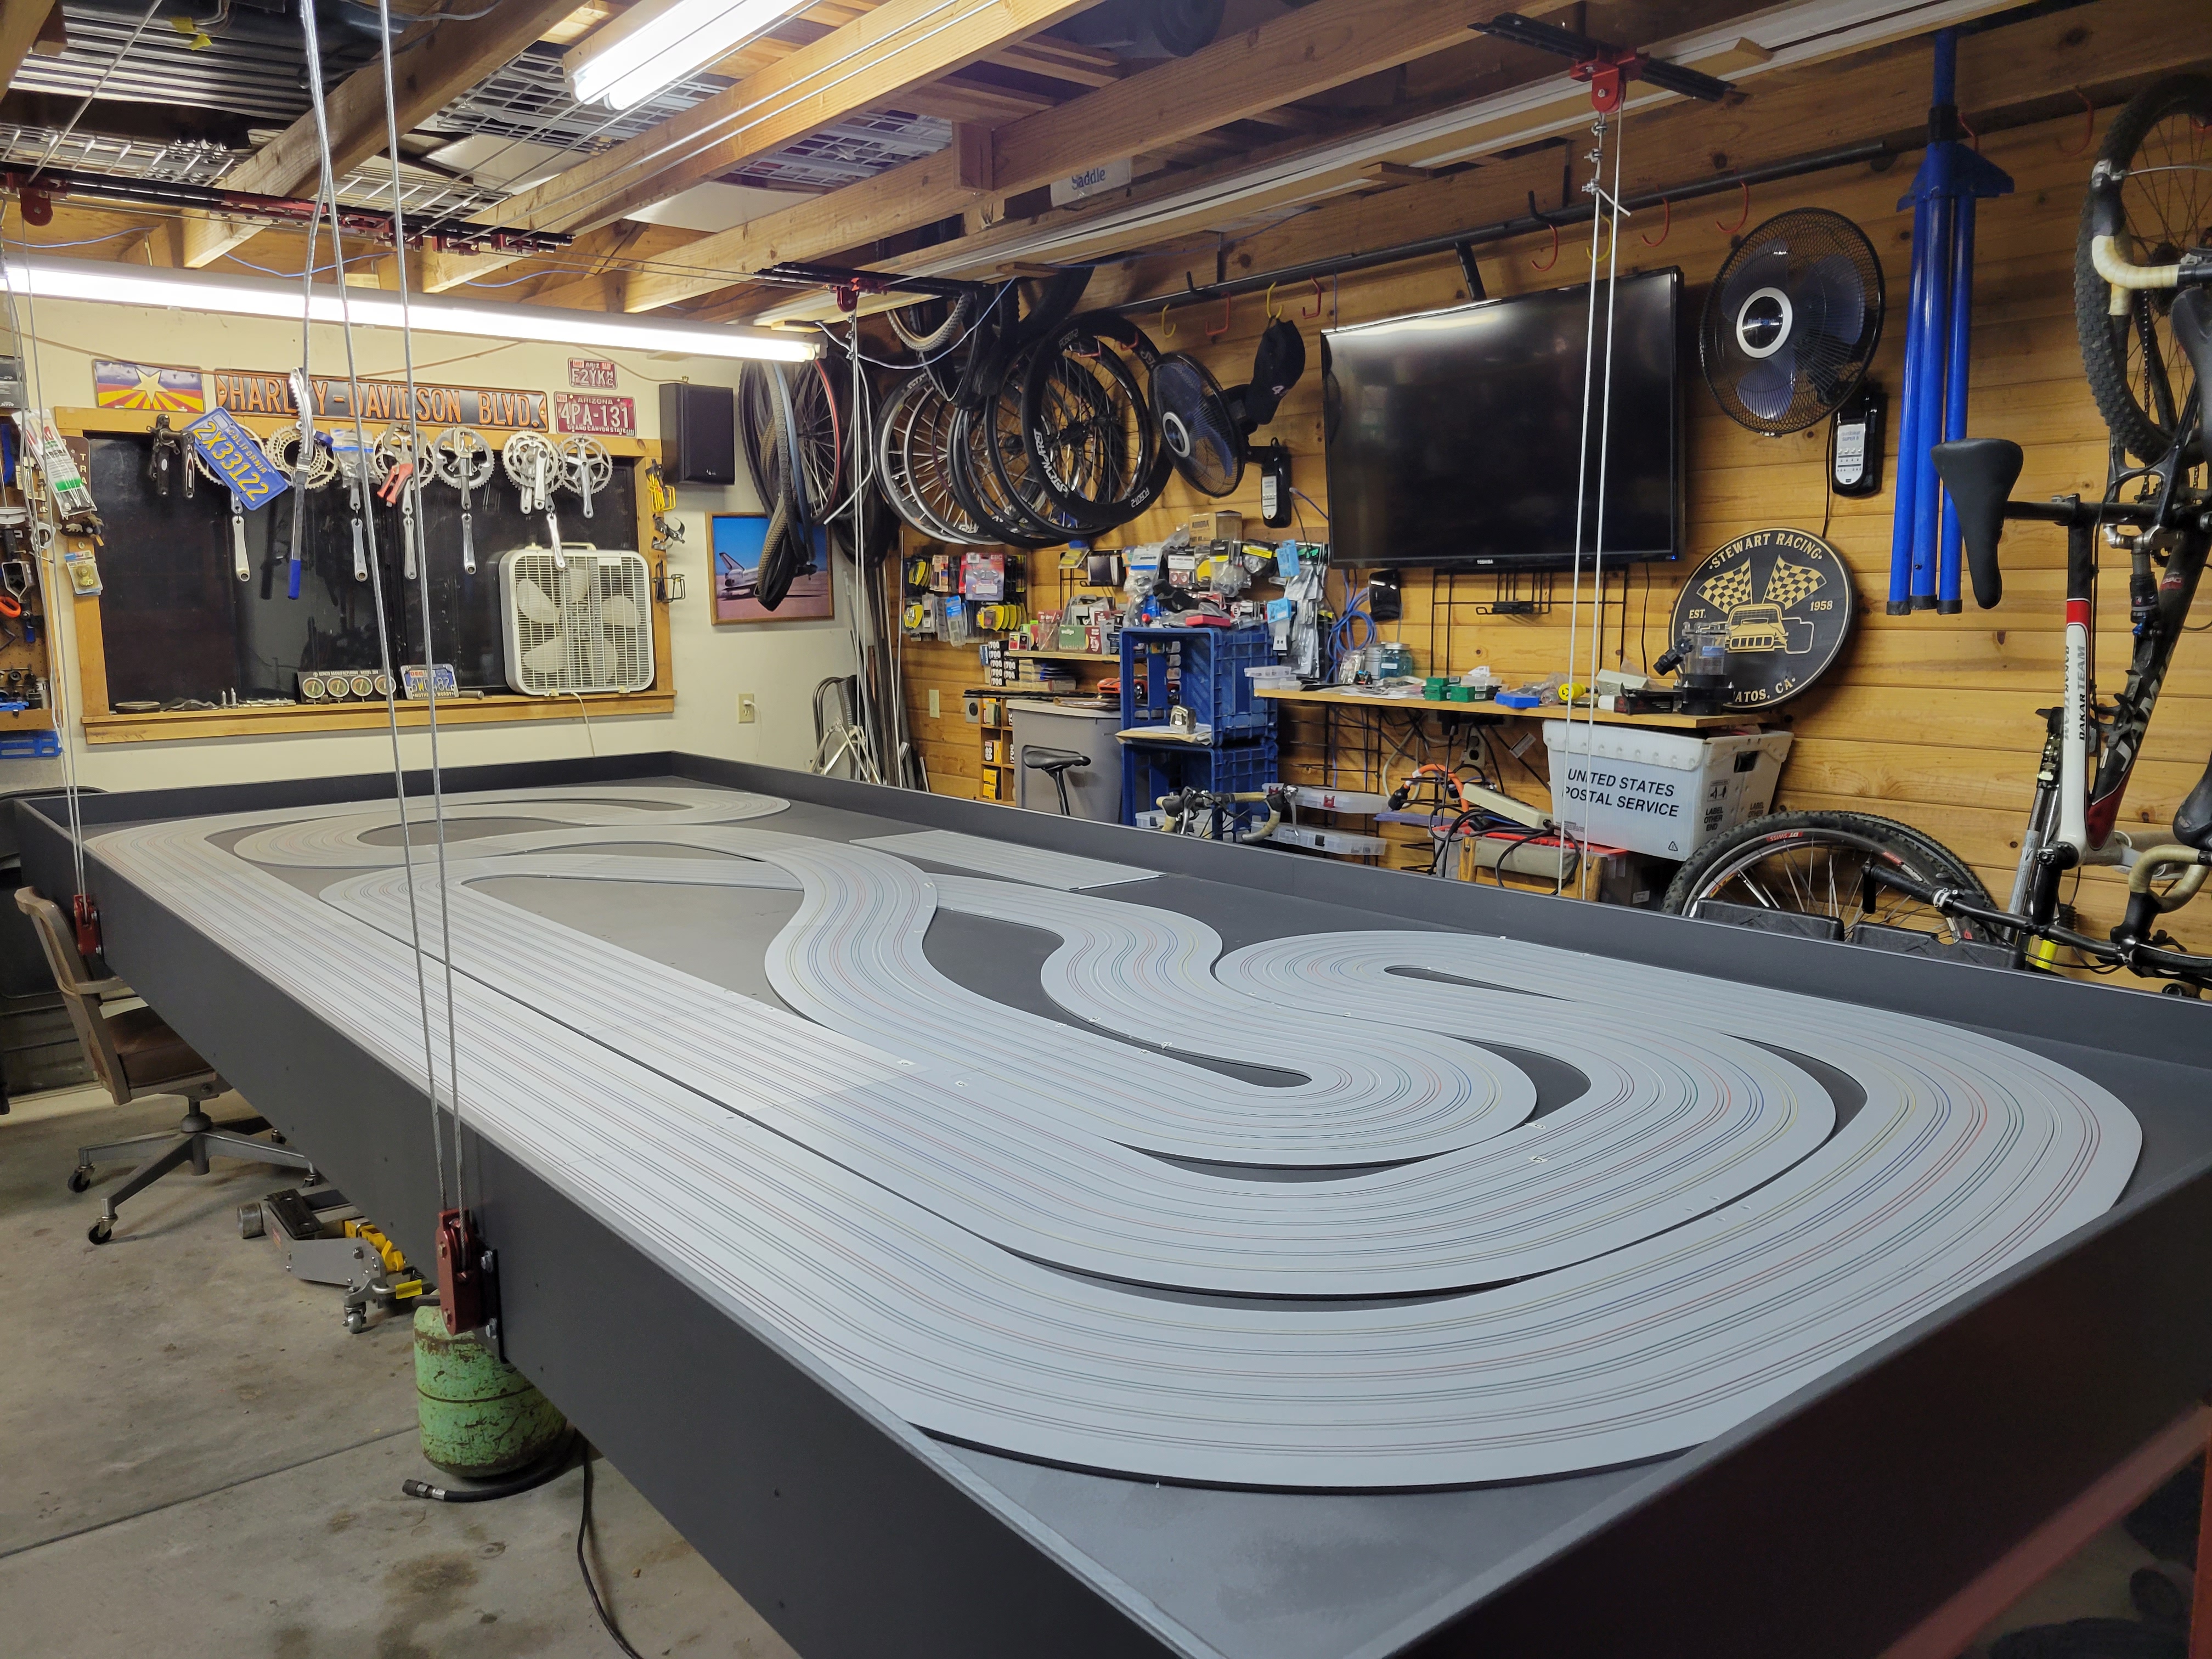 In the case of a convertible oval-to-road course track, you have to get the oval layout dialed first. Then you have a fixed starting point for the rest of the puzzle. I didn’t get the oval to align together perfectly but it was extremely close and I didn’t have time to start over and get it perfect. These shots show the track in various stages of placement completion and the complete placement of the entire course.